
Intro: Why Homemade Baby Food Matters
Baby food puree recipes making your own baby food can seem like a substantial undertaking, but it is one of the most fulfilling presents you can provide your youngster. It enables you to manage every ingredient, ensuring your child gets the best, most healthy start possible. Business baby foods have improved, yet nothing compares to the quality and love that go into a homemade puree. This detailed guide will walk you through everything you need to know about making scrumptious, healthy baby food purees at home in 2025.
We will explore the advantages of homemade infant food, the necessary equipment required, and how to safely prepare and store your creations. Most importantly, we’ll share a variety of dishes tailored for each phase of your child’s development, from their very first spoonfuls to more intricate flavor combinations. Let’s embark on this journey to offer your infant the finest possible start to a lifetime of healthy eating.
Why Choose Homemade Baby Food?
The decision to make your baby’s food at home comes with a host of advantages that extend beyond easy nutrition. It’s an option that affects your child’s health, your budget, and their future relationship with food.
Unrivaled Nutritional Value
You have total control over what goes into your child’s mouth when you prepare food for your child at home. You can select the freshest, highest-quality natural fruits and veggies. Homemade purees are free from preservatives, fillers, and added sugars or salt, which are often found in store-bought alternatives. The commercial sanitation procedure, which includes high heat to extend shelf life, can likewise break down sensitive vitamins and nutrients. By steaming or gently baking ingredients at home, you preserve more of their natural goodness, providing your infant with optimal nourishment.
Developing a Healthy Palate
Presenting a wide range of flavors and textures from an early age is vital for developing an adventurous eater. With homemade purees, you can easily introduce single components and then gradually integrate them. This helps you identify potential allergies and allows your baby to experience the authentic taste of carrots, sweet potatoes, and pears. You can introduce herbs like a pinch of cinnamon or dill, expanding their taste buds in a manner that pre-packaged food cannot match. This early direct exposure can lead to a greater acceptance of different foods as they grow.
Cost-Effectiveness and Sustainability
A bag of natural carrots or a few sweet potatoes can yield a large batch of baby food for a fraction of the expense of individual containers or pouches. Making food in batches can lower your grocery costs and reduce packaging waste.
Essential Equipment for Making Baby Food Purees
You do not require a cooking area loaded with fancy gadgets to make baby food. You already own many of what you need.
Cooking Equipment
Steamer Basket: Steaming is the favored cooking approach as it maintains the most nutrients compared to boiling. An easy, inexpensive stainless-steel steamer basket that fits inside a basic pot is ideal.
Baking Sheet: Roasting is another excellent choice, especially for root veggies like sweet potatoes and butternut squash. It caramelizes their natural sugars, enhancing their taste.
Saucepan: A medium or small pan works for cooking grains, lentils, or simmering fruits.
Mixing and Pureeing Tools
- High-Powered Blender: A quality mixer (like a Vitamix or Ninja) will give you the smoothest purees, which are necessary for babies simply beginning solids.
- Immersion Blender: Also called a stick blender, this tool is terrific for pureeing food directly in the pot you cooked it in, implying less cleanup. It’s fantastic for smaller batches.
- Food Processor: A food processor works well, especially for thicker purees or when you start introducing more texture.
Storage Solutions
- Ice Cube Trays: Silicone ice trays are perfect for freezing little, single-serving portions of puree. When frozen, the cubes can be popped out and saved in freezer bags. Standard trays supply 1-ounce parts, which are perfect for novices.
- Freezer-Safe Baby Food Containers: Small glass or BPA-free plastic containers are exceptional for saving larger portions in the fridge or freezer.
- Freezer Bags: Use high-quality, identified freezer bags to store your frozen puree cubes. Be sure to compose the contents and the date on each bag.
Stage 1 Purees: First Foods (4-6 Months).
At this stage, the goal is to present your baby to the principle of eating. Purees must be really thin, smooth, and made from a single ingredient.
Single-Ingredient Fruit Purees.
These basic dishes are naturally sweet and easy for an infant to digest.
1. Velvety Avocado Puree.
Avocados are a powerhouse of healthy fats, crucial for brain development.
Ingredients: 1 ripe avocado.
Instructions:.
- 1. Scoop the flesh into a bowl.
- 2. Mash thoroughly with a fork until completely smooth.
- 3. For a thinner consistency, mix in a tablespoon of breast milk, formula, or milk.
2. Easy Pear or Apple Puree.
Apples and pears are gentle on a child’s belly. Select ripe, sweet ranges.
Ingredients: 2 natural pears or apples.
Instructions:.
- 1. Peel, core, and chop the fruit.
- 2. Location in a pan with a small amount of water (about 1/4 cup).
- 3. Simmer over medium-low heat for 10-15 minutes, or till very tender.
- 4. Transfer the fruit and cooking liquid to a mixer and puree till smooth. Add more water, breast milk, or formula if needed to reach the preferred consistency.
3. Banana Puree.
The supreme convenience food, bananas, need no cooking.
Ingredients: 1 ripe banana.
Instructions:.
- 1. Peel a ripe banana.
- 2. Mash well with a fork until smooth and creamy.
- 3. Thin with a bit of liquid if essential. Serve immediately, as bananas oxidize and turn brown rapidly.
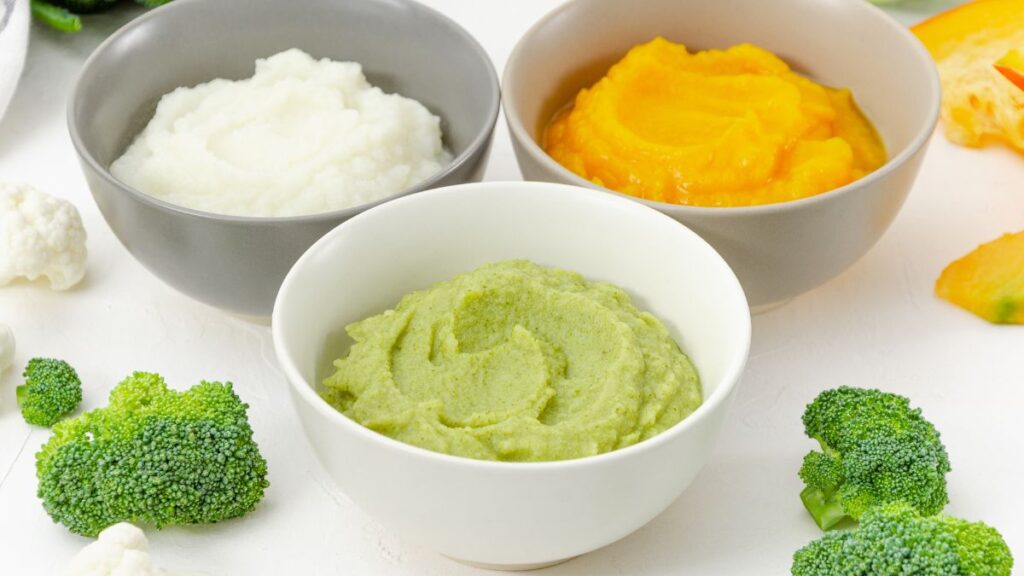
Single-Ingredient Vegetable Purees.
Start with sweeter veggies to encourage acceptance before transferring to more earthy flavors.
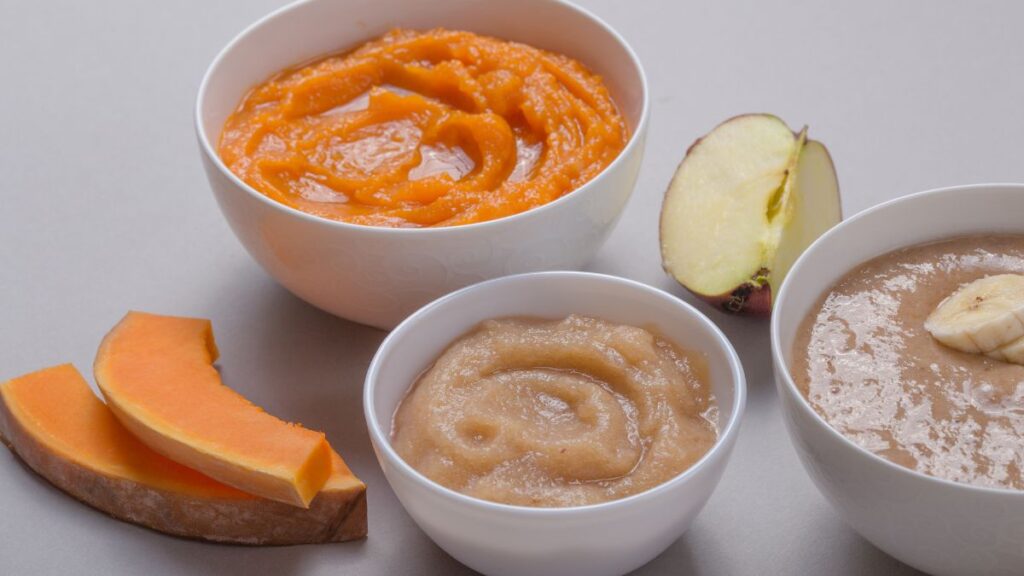
1. Sweet Potato Puree.
A classic, very first food, packed with Vitamin A and fiber.
- Ingredients: 1 medium natural sweet potato.
Instructions:.
- 1. Scrub the sweet potato and pierce it several times with a fork.
- 2. Bake for 45-60 minutes, or until the skin is wrinkly and the inside is very soft.
- 3. Let it cool somewhat, then slice it open and scoop the flesh into a blender.
- 4. Puree until smooth, including liquid as required to thin it out.
2. Butternut Squash Puree.
Comparable to sweet potato, butternut squash has a mild, sweet flavor that infants love.
- Ingredients: 1 small butternut squash.
Instructions:.
- 1. Place the halves cut-side down on a flat pan.
- 2. Bake for 40-50 minutes, or until tender when pierced with a fork.
- 3. When cool enough to deal with, scoop the flesh into a blender and puree until silky smooth, thinning with water as desired.
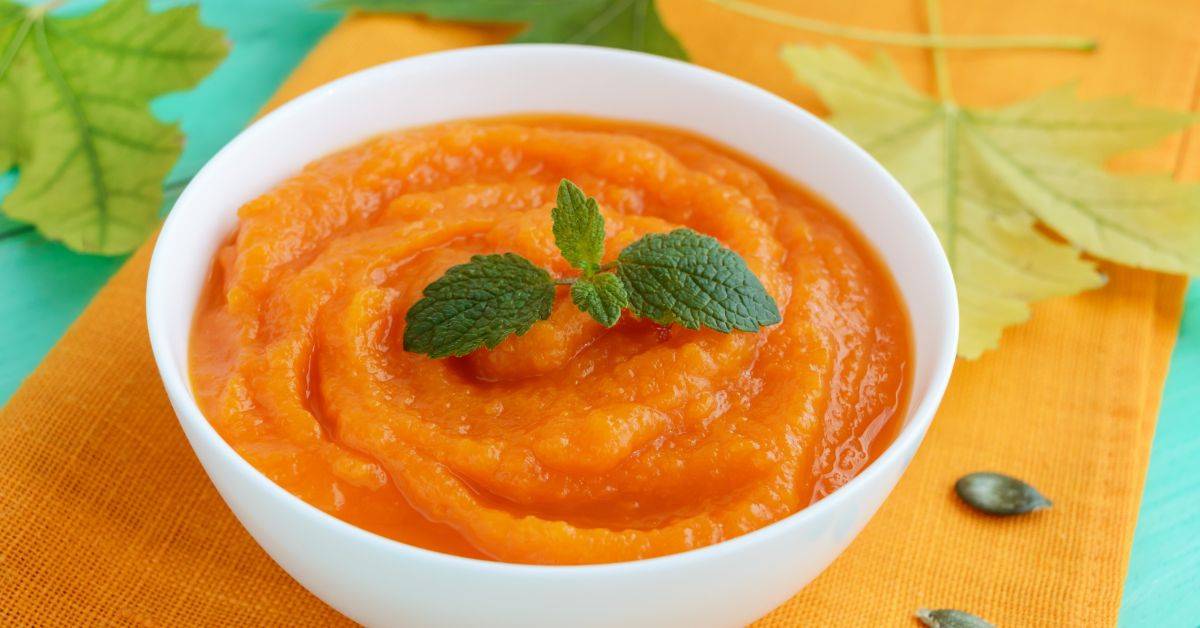
3. Carrot Puree.
Carrots are naturally sweet and rich in beta-carotene.
- Ingredients: 4 medium organic carrots.
Instructions:.
- 1. Peel and slice the carrots.
- 2. Position them in a steamer basket over boiling water.
- 3. Steam for 15-20 minutes, until they are incredibly tender.
- 4. Transfer the steamed carrots to a mixer with a small quantity of the steaming water.
- 5. Blend till completely smooth.
Stage 2 Purees: Introducing Combinations (6-9 Months).
When your infant has attempted a range of single-ingredient purees, you can start combining flavors. The texture can likewise become somewhat thicker. This is a fun time to present well-cooked grains, legumes, and even small quantities of protein.
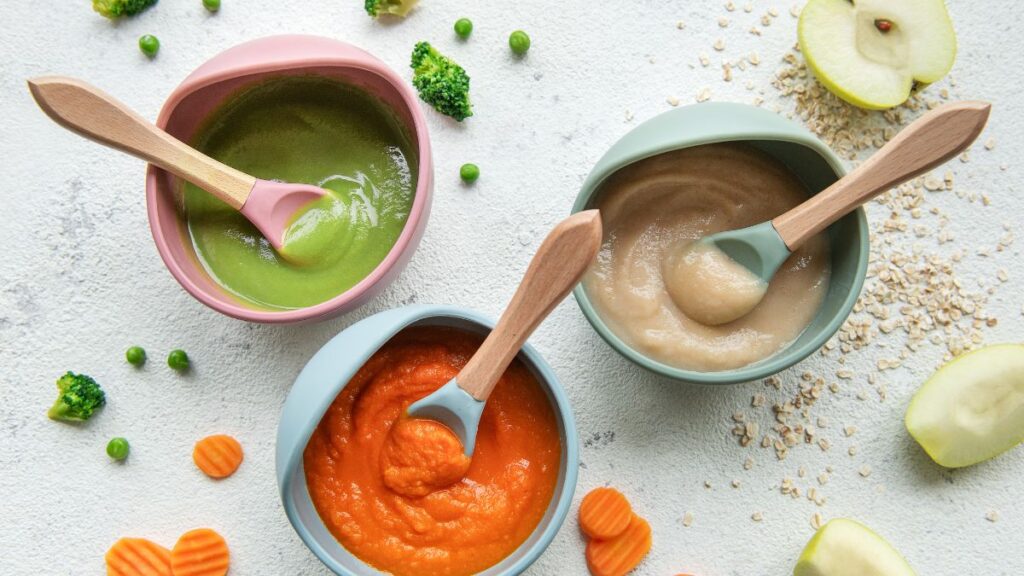
Vegetables And Fruit Combination Purees.
These recipes balance tasty and sweet tastes, expanding your child’s palate.
1. Apple, Carrot & Ginger Puree.
A touch of ginger includes a charming heat and helps digestion.
- Ingredients: 2 apples, 2 carrots, 1/4 tsp newly grated ginger (optional).
Instructions:.
- 1. Peel, core, and chop the apples. Peel and chop the carrots.
- 2. Steam the apples and carrots together for 15 minutes, or until soft.
- 3. Transfer to a blender, include the grated ginger, and puree until smooth.
2. Sweet Potato & Kale Puree.
Pair leafy greens with a familiar, sweet vegetable.
- Ingredients: 1 large sweet potato, 1 cup fresh kale (stems removed).
Instructions:.
- 1. Peel and chop the sweet potato. Steam for about 10 minutes.
- 2. Include the kale in the cleaner basket and steam for another 5 minutes, until both are soft.
- 3. Mix the sweet potato and kale with a bit of water until you reach the preferred consistency.
3. Pear, Zucchini & Spinach Puree.
Zucchini has a moderate taste that blends perfectly, while spinach adds a boost of iron.
- Ingredients: 2 ripe pears, one small zucchini, 1 cup fresh spinach.
Instructions:.
- 1. Peel, core, and chop the pears. Slice the zucchini.
- 2. Steam the pears and zucchini for 8-10 minutes.
- 3. Add the spinach to the cleaner for the eleventh hour of cooking, just until it wilts.
- 4. Blend all ingredients until smooth.
Including Proteins and grains.
Introducing proteins and grains offers vital energy, iron, and building blocks for growth.
1. Chicken, Carrot & Brown Rice Puree.
A balanced and savory meal.
- Ingredients: 1 boneless, skinless chicken thigh, two carrots, 1/4 cup prepared brown rice.
Instructions:.
- 1. Slice the chicken and carrots into small pieces.
- 2. Place them in a saucepan and cover with water or saltless chicken broth.
- 3. Simmer for 15-20 minutes, until the chicken is cooked through and the carrots are soft.
- 4. Transfer the chicken, carrots, and a bit of the cooking liquid to a blender.
- 5. Add the cooked wild rice and puree until smooth.
2. Lentil & Sweet Potato Puree.
Lentils are an exceptional plant-based source of iron and protein.
- Ingredients: 1/4 cup red lentils (rinsed), one medium sweet potato (peeled and diced).
Instructions:.
- 1. Combine lentils and sweet potato in a pan with 1 cup of water.
- 2. Bring to a boil, then reduce the heat and simmer for 20-25 minutes, until the lentils are mushy and the sweet potato is tender.
- 3. Blend the mixture till it forms a thick, hearty puree.
3. Oatmeal with Banana & Cinnamon.
A warm and comforting breakfast puree.
Ingredients: 1/4 cup rolled oats, 1/2 ripe banana (mashed), pinch of cinnamon.
Instructions:.
- 1. Cook the oats according to package directions, using water, breast milk, or formula.
- 2. Once prepared, stir in the mashed banana and a pinch of cinnamon.
- 3. For a smoother texture, you can briefly blend the mixture.
Phase 3 Purees: Chunky and Textured Foods (9-12 Months).
As your infant establishes their pincer grasp and chewing abilities, you can start offering thicker, chunkier purees. These textures help prepare them for table foods. You can attain this by mashing with a fork instead of mixing, or by pulsing briefly in a food processor.
Hearty and Textured Meal Purees.
These recipes are more like mini-meals, including numerous food groups.
1. Beef, Broccoli & Potato Mash.
A nutrient-dense meal rich in iron.
- Ingredients: 2 oz stewing beef (cut small), 1 cup broccoli florets, one medium potato (peeled and diced).
Instructions:.
- 1. In a saucepan, simmer the beef and potato in water till both are very tender (about 25-30 minutes).
- 2. Add the broccoli florets and cook for another 5-7 minutes.
- 3. Drain most of the liquid.
- 4. Mash whatever together with a fork or potato masher to create a chunky texture. You can also pulse it in a food processor or use a food mill.
2. Salmon, Pea & Asparagus Puree.
Introduce healthy omega-3 fats with this flavorful mix.
Ingredients: 2 oz skinless salmon fillet, 1/2 cup frozen peas, 4-5 asparagus spears (difficult ends removed).
Instructions:.
- 1. Steam or bake the salmon till cooked through. Flake it with a fork.
- 2. Steam the asparagus and peas till tender.
- 3. Combine all active ingredients in a bowl and mash with a fork. For a somewhat smoother texture, pulse a couple of times in a mixer with a capture of lemon juice.
3. Quinoa, Black Bean & Corn Medley.
A complete plant-based protein with terrific texture.
- Ingredients: 1/4 cup cooked quinoa, 1/4 cup canned black beans (rinsed well), 1/4 cup cooked corn kernels.
Instructions:.
- 1. If utilizing frozen corn, steam until tender.
- 2. In a bowl, combine the cooked quinoa, rinsed black beans, and corn.
- 3. Gently mash about half of the mix with a fork to bind it together, leaving the other half whole for texture. You can add a touch of mashed avocado for added creaminess.
Safe Storage and Handling of Homemade Baby Food.
Appropriate storage is crucial to guarantee the safety and freshness of your homemade purees.
Refrigeration.
Freshly made purees can be saved in an airtight container in the refrigerator for up to 3 days. Glass containers are preferable as they do not stain or maintain odors.
Freezing.
Freezing is the most effective technique for long-term storage.
- 1. Part: Spoon the fresh puree into tidy silicone ice trays.
- 2. Freeze: Cover and freeze until solid, usually for 4-6 hours.
- 3. Store: Pop the frozen cubes out of the tray and transfer them to a labeled freezer bag. Squeeze out as much air as possible before sealing.
- 4. Duration: Homemade purees can be kept in the freezer for up to 3 months.
Reheating and defrosting.
- Thawing: The safest method to thaw frozen puree is overnight in the fridge. You can also utilize the defrost setting on a microwave or place the container in a bowl of warm water.
- Reheating: Gently warm the puree on the stovetop or in the microwave. Stir well to guarantee there are no hot spots, and always check the temperature before serving.
- Important: Never refreeze thawed baby food. Dispose of any leftovers from your infant’s bowl, as saliva can introduce bacteria into the food.
Often Asked Questions (FAQ).
Q: When is the right time to begin feeding my child strong foods?
A: The American Academy of Pediatrics advises starting solids around 6 months of age. Secret signs of preparedness include good head and neck control, the ability to sit up with support, showing interest in food, and losing the tongue-thrust reflex (pressing food out with the tongue). Always consult your pediatrician to determine the best time for your infant.
Q: Should I utilize organic produce for my infant’s food?
A: Using organic fruit and vegetables can lower your baby’s exposure to pesticides. If your spending plan is a concern, consider prioritizing organic products for those on the “Dirty Dozen” list (such as strawberries, spinach, and apples) and opting for conventional products for those on the “Clean Fifteen” list (like avocados, sweet corn, and pineapples). Thoroughly washing all produce is constantly essential.
Q: Can I utilize frozen fruits and vegetables?
Frozen fruits and vegetables are an excellent, practical, and typically more affordable choice. They are as healthy as fresh produce for making infant food.
Q: How do I present prospective irritants like peanuts, eggs, and fish?
A: Current standards suggest presenting typical allergens early, around 6 months, to minimize the risk of developing allergic reactions. Present them one at a time in small quantities, and observe for any response for a few days. For example, you can thin a percentage of smooth peanut butter with water or mix a little bit of well-cooked, mashed egg into a familiar puree. Always discuss your plan with your pediatrician, especially if there is a household history of food allergies.
Q: What liquids are best for thinning purees?
A: For infants simply starting solids, breast milk or formula is an ideal choice as it adds familiarity and additional nutrients. As your baby grows older, you can also use water (the water you used for steaming is excellent, as it contains nutrients) or unsalted homemade broth. Avoid including cow’s milk as a beverage until after your child is 12 months old.
Q: How can I add more flavor to child food without salt or sugar?
A: You can enhance flavors naturally by utilizing a variety of mild herbs and spices. A pinch of cinnamon in apple or sweet potato puree, a hint of dill with salmon, or a hint of cumin in lentil puree can present exciting and brand-new flavors. Roasting vegetables also brings out their natural sweetness.
Business-made baby foods have improved, yet nothing compares to the quality and love packed into a homemade puree. When you prepare baby food at home, you have complete control over what goes into your baby’s mouth. – Ice Cube Trays: Silicone ice cube trays are ideal for freezing little, single-serving portions of puree. As soon as your child has tried a variety of single-ingredient purees, you can begin combining tastes. As your baby develops their pincer grasp and chewing abilities, you can start using thicker, chunkier purees.
<script type="application/ld+json">
{
  "@context": "https://schema.org",
  "@type": "BlogPosting",
  "mainEntityOfPage": {
    "@type": "WebPage",
    "@id": "https://pinmebaby.com/healthy-baby-food-puree-recipes-made-at-home-2025/"
  },
  "headline": "Healthy Baby Food Puree Recipes Made at Home 2025",
  "description": "Baby food puree recipes there’s a wonderful moment when your baby leans forward, eyes sparkling with interest, and opens their mouth for that really first spoonful of strong food. Should you buy containers from the shop or make food yourself?",
  "image": "https://pinmebaby.com/wp-content/uploads/2025/09/baby-food-puree-recipes-4.jpg",
  "author": {
    "@type": "Person",
    "name": "Shokhina Begum",
    "url": "https://pinmebaby.com/about-us/"
  },
  "publisher": {
    "@type": "Organization",
    "name": "Shokhina Begum",
    "logo": {
      "@type": "ImageObject",
      "url": "https://pinmebaby.com/wp-content/uploads/2025/09/cropped-pinmebaby.jpg"
    }
  },
  "datePublished": "2025-09-10",
  "dateModified": "2025-09-10"
}
</script>